
Winter’s over, and now it’s time to get your RV safely back in service. Dewinterizing isn’t hard, but skipping steps can lead to leaks, bad water, appliance issues, or a very expensive “first trip surprise.”
Below is a practical, technician-style dewinterization checklist you can follow to get your RV ready for the season.
Quick note: RV setups vary. Always follow your RV and component manuals (water heater, furnace, etc.). If you’re unsure or spot a leak, stop and address it before pressurizing further.
What You’ll Need
- Basic hand tools (screwdriver, pliers)
- Fresh-water hose and water pressure regulator
- Disposable gloves and towels or paper towels
- A bucket (helpful for draining)
- Sanitizing option: household bleach or RV tank sanitizer
- Flashlight (for inspecting behind panels)
Step 1: Inspect Before You Turn Anything On
Before adding water or power, do a quick walk-around:
- Check roof and exterior seals (vents, edges, skylights)
- Look for visible cracks in hoses or fittings
- Check battery condition and cable tightness
- Verify tires (pressure and sidewall cracking) before towing
Pro tip: A quick seal inspection now can prevent interior water damage later.
Step 2: Flush RV Antifreeze Out of the Fresh Water System
If you pumped RV antifreeze through your lines:
- Connect city water (with regulator) or fill your fresh tank and run the pump
- Open each faucet one at a time, cold side until it runs clear, then hot side until it runs clear
- Don’t forget the shower (inside and outside if equipped), toilet valve flush, kitchen sprayer, washer or dishwasher prep if applicable, and the water filter housing (remove the old filter first)
Expect some pink at first. Keep flushing until it’s fully clear.
Step 3: Set the Water Heater Correctly (Don’t Skip This)
This is one of the most common spring mistakes.
- Make sure the water heater is still bypassed if you winterized that way
- Confirm the drain plug or anode rod is installed and the relief valve is seated
- When ready, set valves to take the water heater out of bypass and fill it
Important: Never turn on electric water heater mode until the tank is completely full of water. You can burn out the heating element fast.
Step 4: Sanitize Your Fresh Water Tank (Recommended)
Even if you “only used it a little,” sanitizing is worth it at least once per season.
A common rule of thumb is about 1/4 cup of regular household bleach per 15 gallons of tank capacity. Confirm your tank size and follow your RV manufacturer’s guidance.
How to sanitize:
- Mix bleach with water (never pour straight bleach directly onto plastics if you can avoid it)
- Fill the fresh tank and run each faucet until you smell bleach
- Let it sit several hours, or overnight
- Drain and flush with fresh water until the smell is minimal
Step 5: Check for Leaks While Pressurized
With the system pressurized (city water or pump), inspect for leaks:
- Under sinks
- Behind the water heater access panel
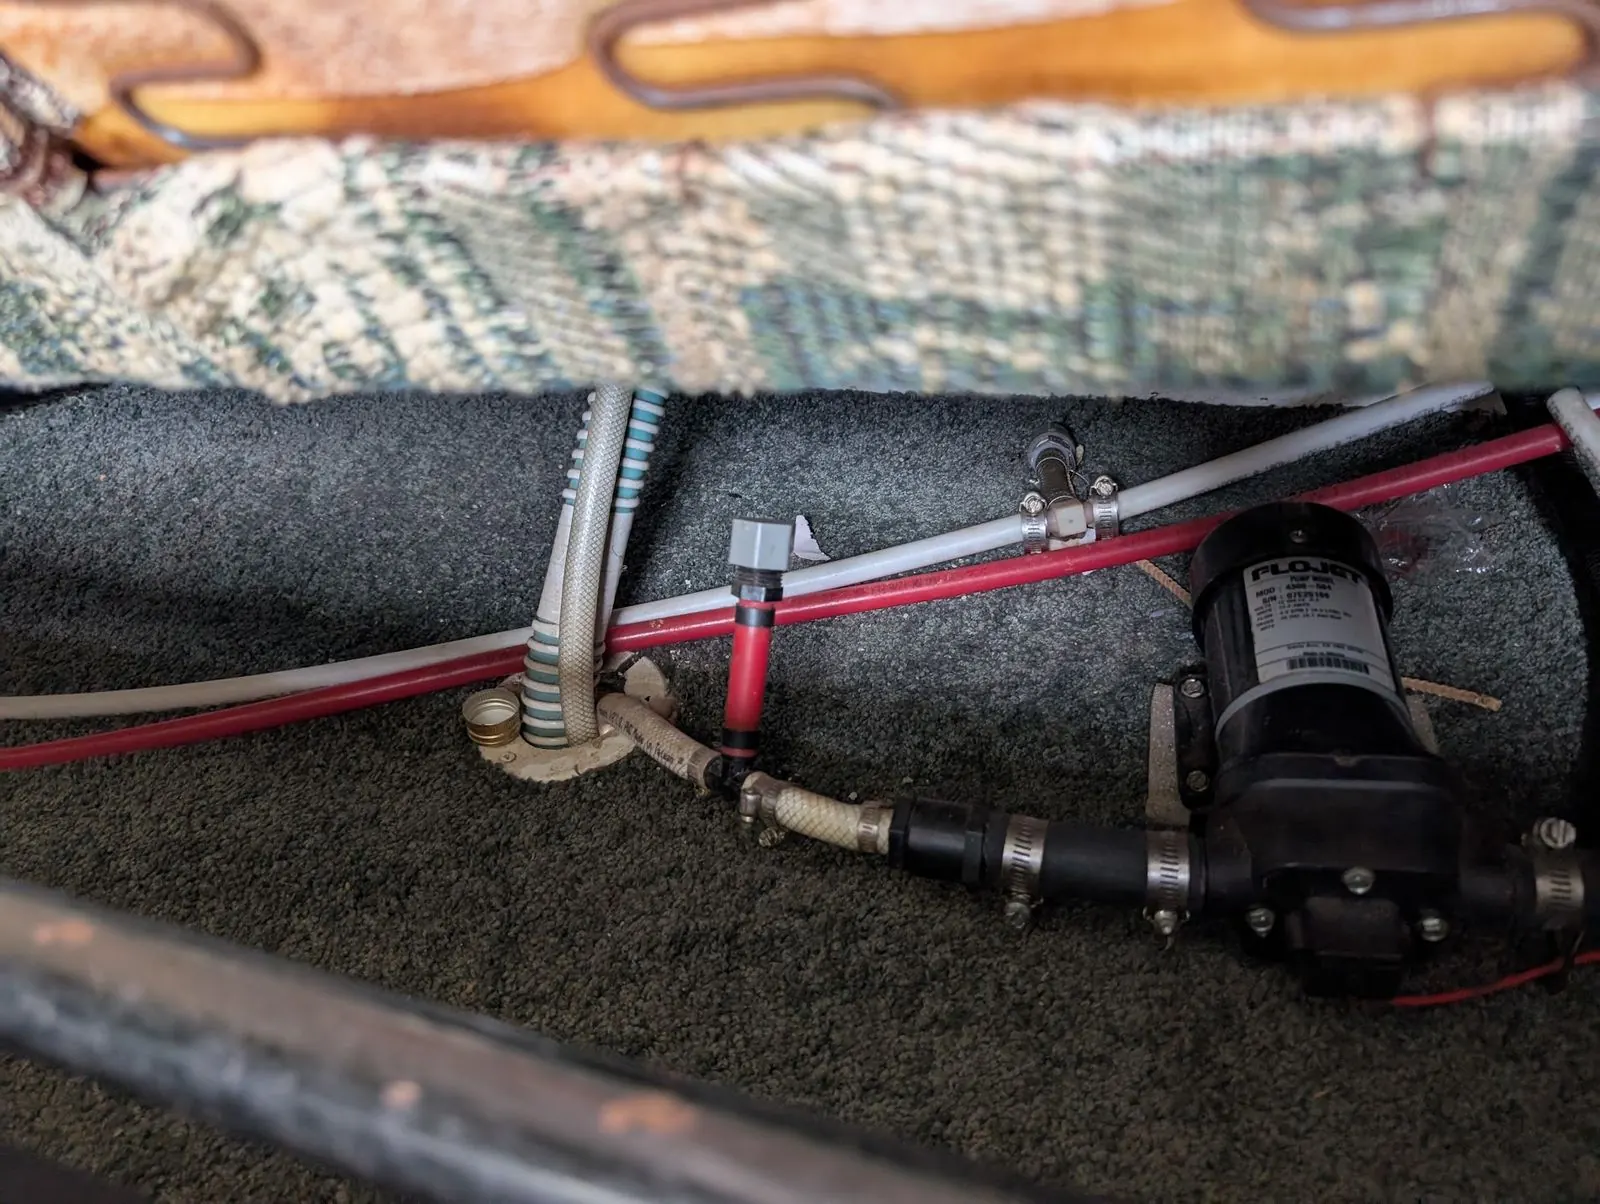
- Near the water pump
- At the toilet valve
- At any visible PEX fittings and hose clamps
If the pump cycles on and off when no water is being used, you may have a leak, or a check valve or pump issue.
Step 6: Propane System and Appliance Check (Safety First)
Propane checks should be done carefully. If you ever smell gas:
- Shut off propane immediately
- Ventilate
- Don’t operate switches or flames
- Get it checked before use
Basic propane system check
- Inspect regulator and pigtails for cracking
- Open valves slowly
- Test stove burners first (a good “purge” tool)
- Then test furnace, water heater (LP mode), and fridge (if LP)
- If appliances won’t light consistently, it may be air in lines, dirty burner tubes, a weak igniter, or regulator issues
Step 7: Electrical and Battery Quick Checks
- Confirm battery state of charge and that terminals are clean and tight
- Check and top off the water (use distilled) for flooded batteries
- Test the 12V system: lights, fans, slides, water pump
- Test shore power: outlets, GFCI, converter charging
- Check breakers and fuses if anything is dead
Step 8: Final Pre-Trip Checks (Worth 10 Minutes)
- Test smoke, CO, and LP detectors (replace batteries if needed)
- Inspect steps, awning operation, and slide seals
- Check brakes and lights on the tow vehicle or trailer connection
- Confirm your tire pressures and lug torque (per manufacturer)
Common Dewinterization Mistakes (Avoid These)
- Turning on the water heater electric mode with an empty tank
- Forgetting the water heater bypass is still set to “bypass”
- Skipping sanitizing and ending up with funky water or odor
- Pressurizing the system without checking fittings first
- Ignoring “small leaks” that turn into floor damage
Want a Pro to Dewinterize It for You?
If you’d rather not deal with leaks, valve confusion, or the “why won’t this appliance light?” game, our dewinterization service can handle it.
RV Tech To Go LLC, mobile RV service and repair. We come to you in Southeast Michigan, based in Waterford.
Call or text 248-517-5165, or check whether your address is in our service area.